-
Notifications
You must be signed in to change notification settings - Fork 99
Displays
GAMA allows modelers to define two kinds of displays in a GUI experiment:
- java 2D displays
- OpenGL displays
These 2 displays allow modeler to display the same objects (agents, charts, texts ...). However, the OpenGL display offers extended features in particular in terms of 3D visualization and provdies better performance for large scale simulation.
The classical displays displaying any kind of content can be manipulated via the mouse (if no mouse event has been defined):
- the mouse left press and move allows to move the camera (in 2D),
- the mouse right click opens a context menu allowing the modeler to inspect displayed agents,
- the wheel allows the modeler to zoom in or out.

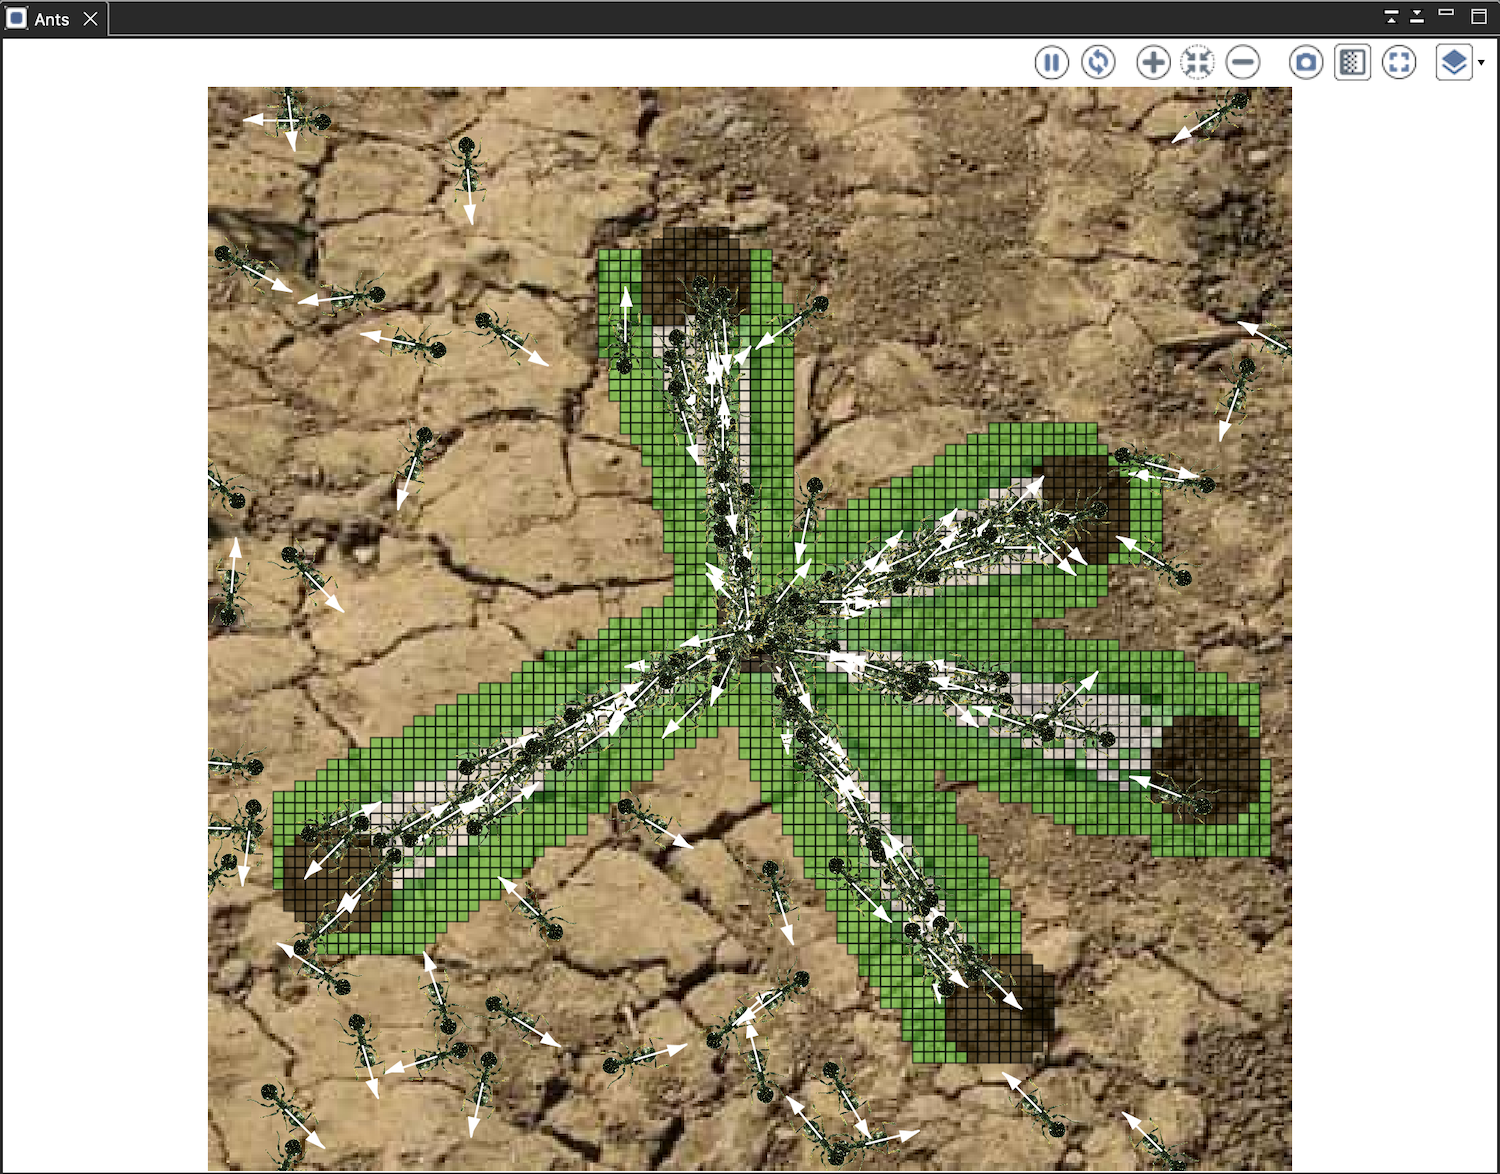
Each display provides several buttons to manipulate the display (from left to right):
- Pause or resume the current view: when pressed, the display will not be displayed anymore while the simulation is still running,
- Synchronize, when pressed, the display and the execution of the model are synchronized. Most of the time, this will reduce the speed of the simulation.
- Zoom in,
- Zoom to fit view,
- Zoom out,
-
Take a snapshot: take a snapshot saved as a png image in the
snapshotsfolder of the model folder. - Toggle antialias: Antialising produces smoother outputs, but comes with a cost in terms of speed and memory used.
-
Toggle fullscreen ESC: when pressed, the current view will be displayed in fullscreen. To exit this mode, press
ESCkey. - Browse through all displayed agents: when pressed a browse view will be open. Only the species displayed can be browsed.

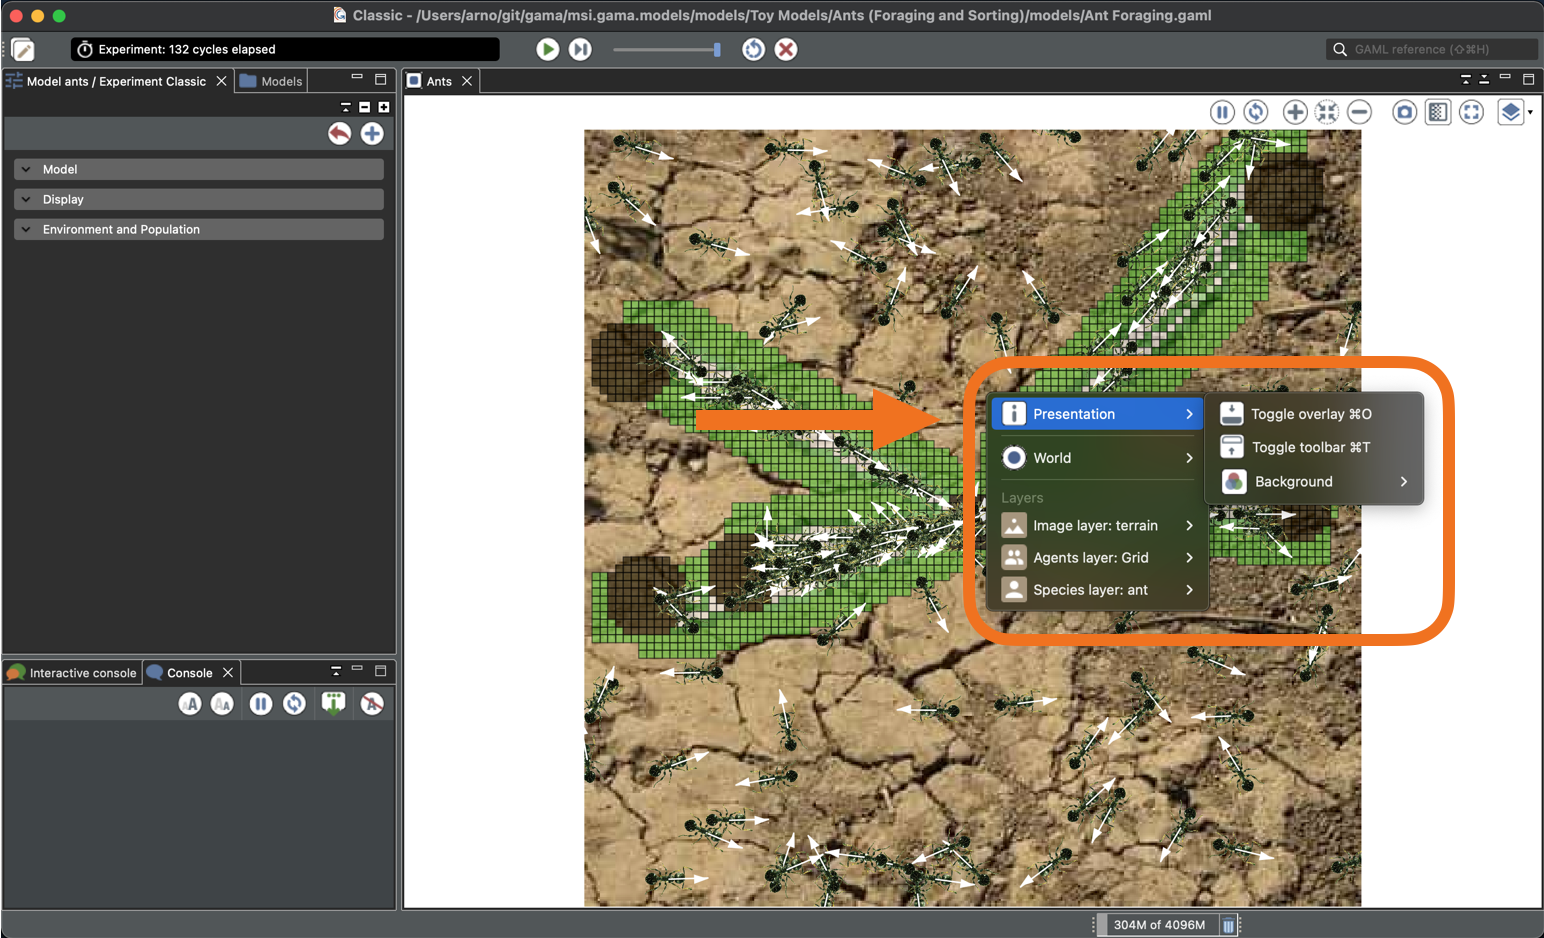
In addition to these commands, the contextual menu on the display provides three more commands (in "Presentation"):
- Toggle overlay: display/hide a semi-transparent toolbar on the bottom of the display, showing the coordinates of the mouse, the zoom, the number of fps (frame per second) of the simulation, and a scale (taking into account the zoom level).
- Toggle toolbar: display/hide the toolbar on the top of the display.
- Background: Change the background color.
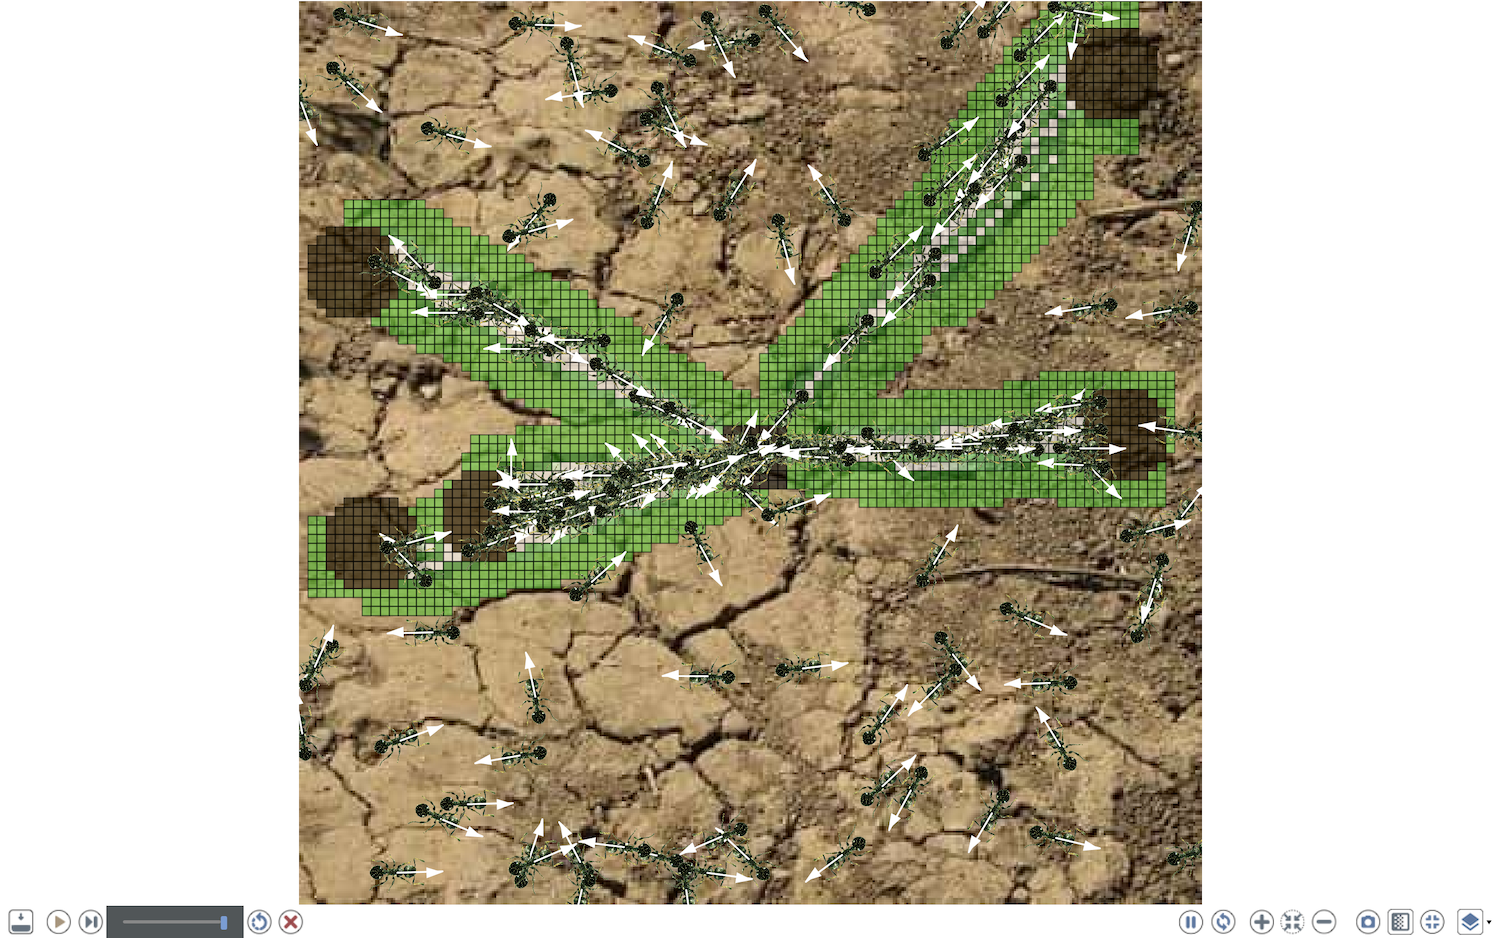
When the View is displayed in fullscreen mode, the toolbar is now located in the bottom of the View and contain in addition to the previously detailed toolbar, the toggle side-control, and overlay controls and controls of the experiment (run, pause, step...).

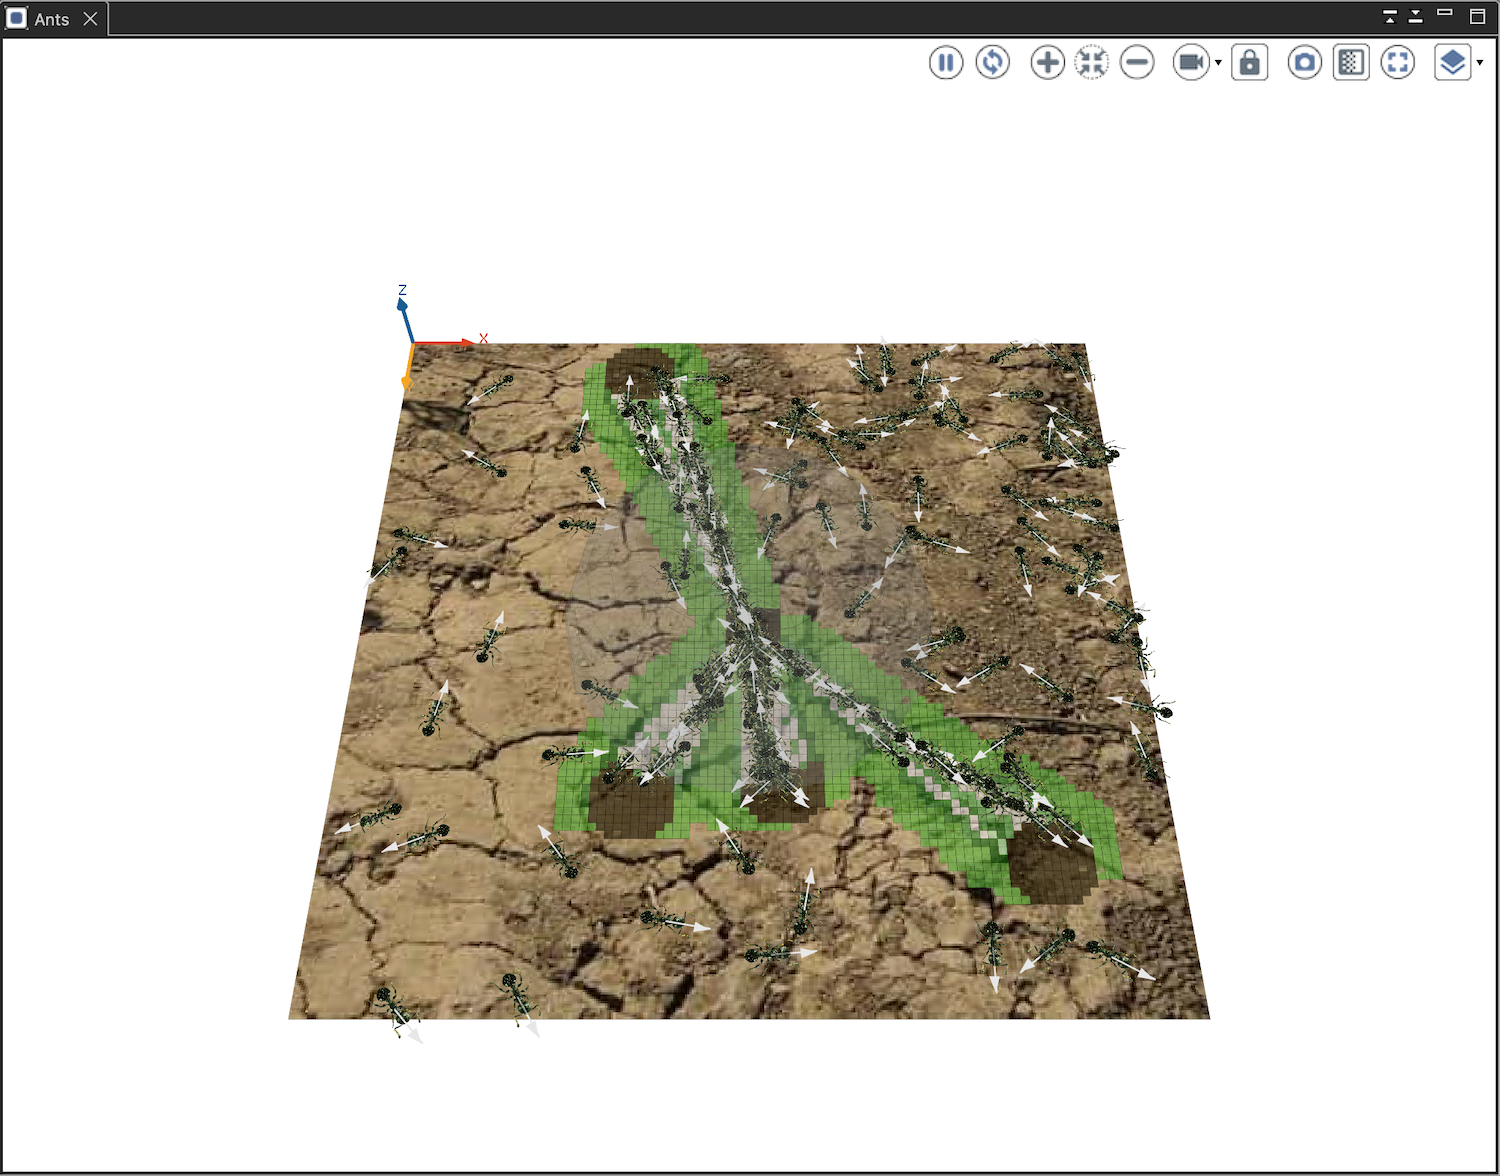
The OpenGL displays displaying offers all the feature provided by java2D but a 3D environnement:
- same behaviors with left-click, right-click and wheel than in the Java2D displays.
-
commandpressed (on Mac OS) orCtrl(on Windows and Linux) +Left-Clickpressed + mouse move: it controls the camera and modify its location/target/orientation.
It opens many ways to visualize and understand your simulation(s) with most of the classical features provided by a 3D environment. More details and illustrations of those features can be found here
Any OpenGL display has the same menu and buttons as the classical Java2D displays. Nevertheless, the sidebar provides more options to manage camera and other options related to OpenGL displays management.

| Key | Function |
|---|---|
| Double Click | Zoom Fit |
| + | Zoom In |
| - | Zoom Out |
| Up | Vertical movement to the top |
| Down | Vertical movement to the bottom |
| Left | Horizontal movement to the left |
| Right | Horizontal movement to the right |
| CTRL or CMD + Up | Rotate the model up (decrease the phi angle of the spherical coordinates) |
| CTRL or CMD + Down | Rotate the model down (increase the phi angle of the spherical coordinates) |
| CTRL or CMD + Left | Rotate the model left (increase the theta angle of the spherical coordinates) |
| CTRL or CMD + Right | Rotate the model right (decrease the theta angle of the spherical coordinates) |
| SPACE | Reset the pivot to the center of the envelope |
| KEYPAD 2,4,6,8 | Quick rotation (increase/decrease phi/theta by 30°) |
| CTRL or CMD + LEFT_MOUSE | Makes the camera rotate around the model |
| ALT+LEFT_MOUSE | Begins Agent Selection using an ROI (Region of Interest) |
| SHIFT+LEFT_MOUSE | Draws an ROI on the display, allowing to maintain it across frames |
| SCROLL | Zoom-in/out to the current target (center of the sphere) |
| WHEEL CLICK | Reset the pivot to the center of the envelope |
-
Keystone: the keystone allows to modify the location of the 4 corner points of the environment bounding box. It can be use to project a simulation on a physical model as the projector can introduce some image distortions. Press
kto enter in keystone mode, ones the keystone is done represskto copy the facet in the clipboard. You can now paste your keystone value as a facet in the display.
- Installation and Launching
- Workspace, Projects and Models
- Editing Models
- Running Experiments
- Running Headless
- Preferences
- Troubleshooting
- Introduction
- Manipulate basic Species
- Global Species
- Defining Advanced Species
- Defining GUI Experiment
- Exploring Models
- Optimizing Model Section
- Multi-Paradigm Modeling
- Manipulate OSM Data
- Diffusion
- Using Database
- Using FIPA ACL
- Using BDI with BEN
- Using Driving Skill
- Manipulate dates
- Manipulate lights
- Using comodel
- Save and restore Simulations
- Using network
- Headless mode
- Using Headless
- Writing Unit Tests
- Ensure model's reproducibility
- Going further with extensions
- Built-in Species
- Built-in Skills
- Built-in Architecture
- Statements
- Data Type
- File Type
- Expressions
- Exhaustive list of GAMA Keywords
- Installing the GIT version
- Developing Extensions
- Introduction to GAMA Java API
- Using GAMA flags
- Creating a release of GAMA
- Documentation generation