|
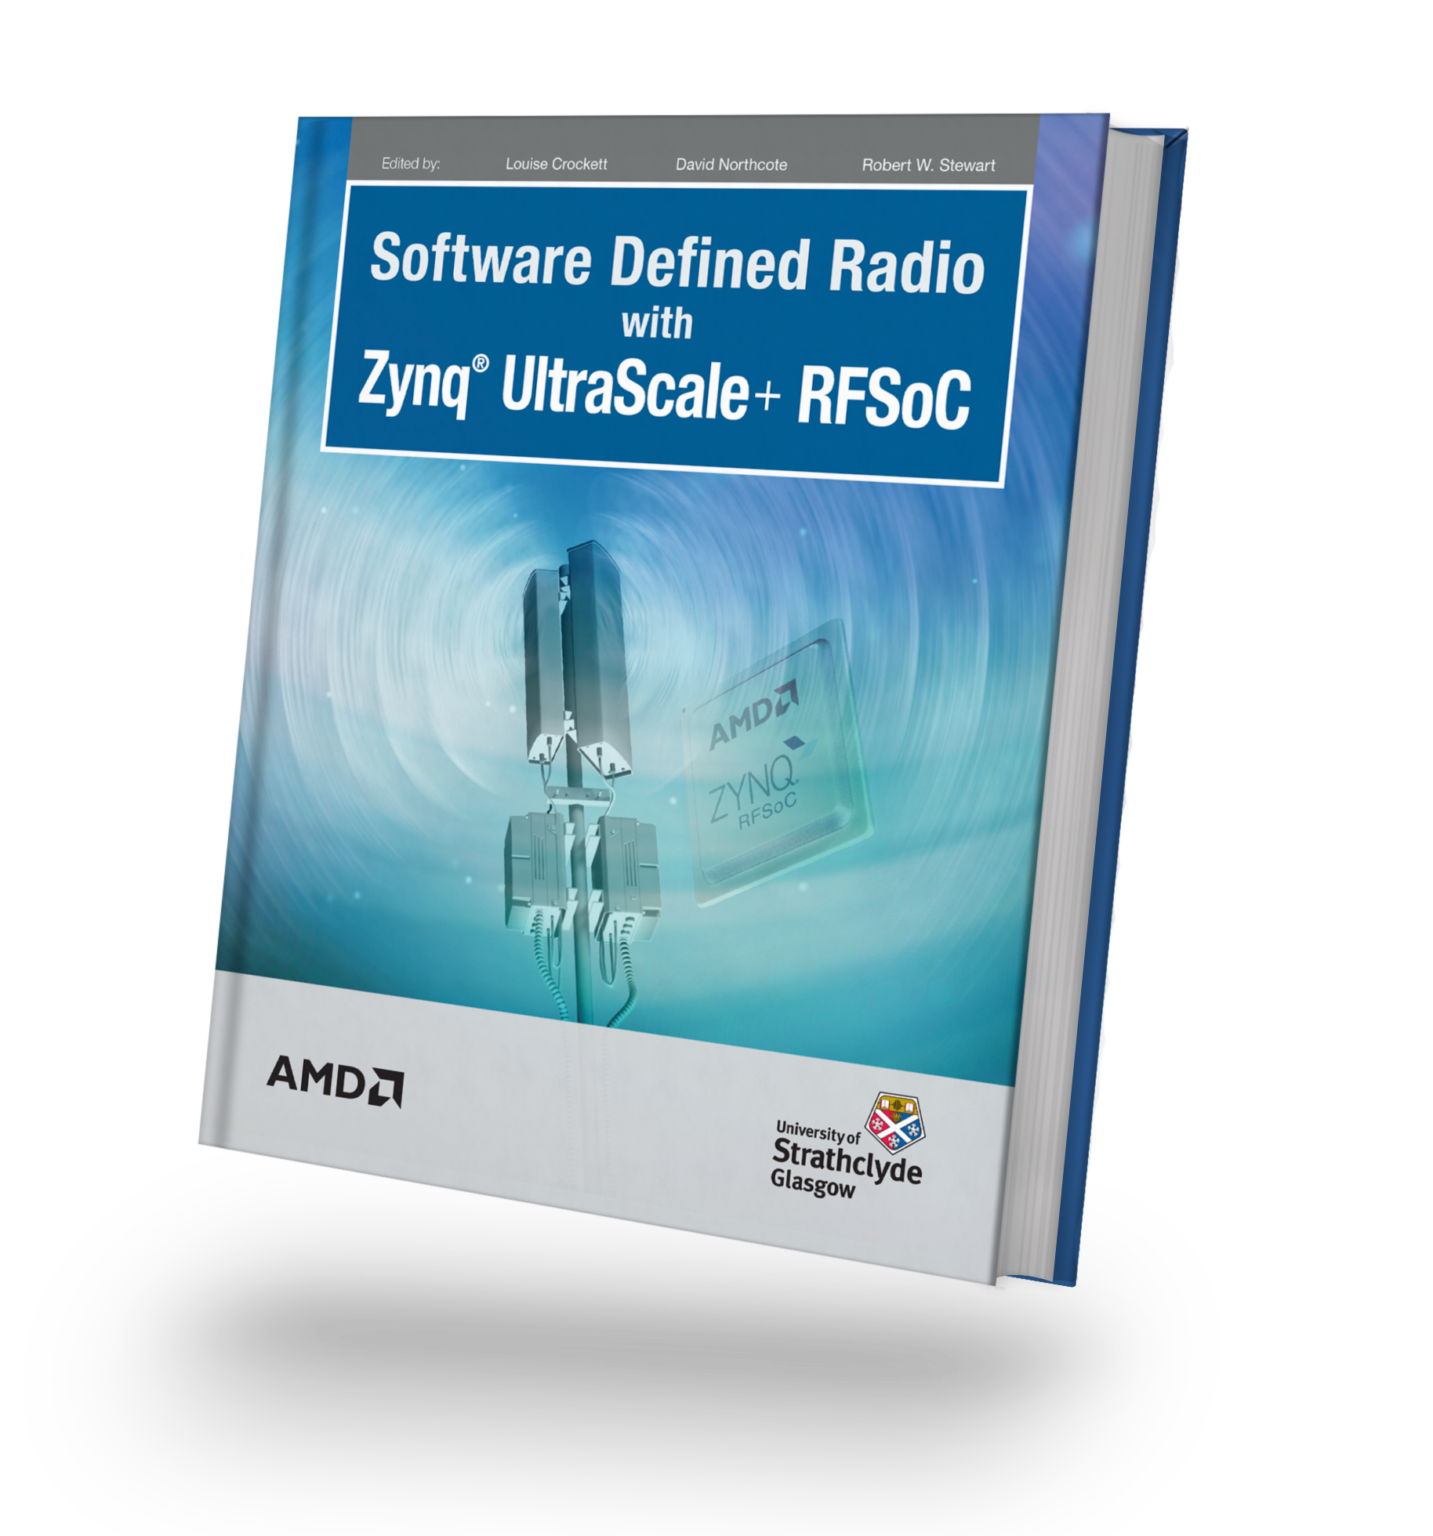
Available Now! Software Defined Radio with Zynq® UltraScale+ RFSoC Free Download Printed Edition |
This repository contains an RFSoC4x2 reference design that enables high-speed data offload from the board to a PC/server, via the QSFP28 connection. The RF-ADC data is packetised into UDP packets using the open-source Network Layer IP, and sent to the QSFP28 port via Xilinx's CMAC IP core.
The following is a list of equipment and software used for development and testing of this design. Compatibility with any other software/equipment not listed here is not guaranteed.
- RFSoC4x2 Development Board
- Mellanox MCX515A-CCAT Network Interface Card (NIC)
- 2x Mellanox MMA1B00-C100D QSFP28 Transceiver
- MTP-12 Female to Female Fibre-Optic Cable
- PCIe 3.0 compatible computer (with QSFP28 NIC installed)
Follow the instructions below to install the data offload example for PYNQ. You will need to give your board access to the internet.
- Power on your development board with an SD Card containing a PYNQ v2.7 image.
- Navigate to Jupyter Labs by opening a browser and connecting to http://<board_ip_address>:9090/lab.
- Run the code below in a Jupyter terminal to install the RFSoC data offload overlay.
pip3 install git+https://github.com/strath-sdr/rfsoc_qsfp_offloadOnce installation has complete you will find the package folder in the Jupyter workspace directory. The folder will be named 'rfsoc-offload'.
The following software is required to use the project files in this repository.
- Vitis Core Development Kit 2022.1 with Y2K22 patch applied
- Vivado Design Suite 2022.1
- Git
As this repo contains a submodule, clone the repo using the --recursive flag
git clone https://github.com/strath-sdr/rfsoc_qsfp_offload.git --recursive
The Vivado project uses an external Network Layer IP repository that is included as a submodule in the ./boards/ip_repo/ directory. The Network Layer IP uses a modified version of the repository that must be patched and built before the Vivado build process begins. This is all taken care of within the Makefile in the top level directory of this repo.
To build the project, first make sure Vitis and Vivado are on your $PATH environment variable.
source <path-to-Vitis>/2022.1/settings64.sh
echo $PATH
Then run make in the top level directory.
make patch
make all
This will patch and build the Network Layer IP, build the Vivado project, and generate the bitstream and HWH files required for the overlay.
make patch needs to be run only once after the repository is cloned. make all can be re-run after make clean command is issued.
Make sure to attach the QSFP NIC to an appropriate PCIe interface. Most cards require a PCIe x16 slot to fully utilize the bandwidth.
To run this demo, the PC has to be setup to use a static IP for the QSFP interface.
Example using Gnome network manager interface:
For the best performance the Maximum Transmission Unit of the interface needs to be increased to support jumbo frames.
Example using Gnome network manager interface:
Instructions on installing GNU Radio and preparing to run the demo can be found in gnuradio/README.md.


