##Learn how to host your app on Heroku
###Aims? To keep this tutorial SHORT and To The POINT. No life stories.
###What is it?
Heroku is a cloud service that hosts your app. You can do this for free if you have a small app.
###How?
You can deploy your app using the Heroku GUI but that's not cool. We're gonna use the command line.
Say you've been working on a project all week and you decide to deploy on Friday afternoon. Don't! Sometimes things go smoothly but sometimes and specially if it's your first time, this might not happen. Leave enough time for it just in case.
###Checklist for Deployment
- Sign-up
- Dynos
- Procfile
- package.json (including the scripts outlined later in this tutorial)
- config.js
- creds.json
- Environment (config) Variables
##Next
-
Please sign up on Heroku if you haven't already, they are more likely to let you use their service if you do!
-
Once you've done that, please install Heroku
-
Then, come back and run the following commands in your terminal:
heroku login
cd into your project
heroku create
The last command on that list will will give your app a random name, thus url but you can change this later if you want to. Alternatively you could do the following:
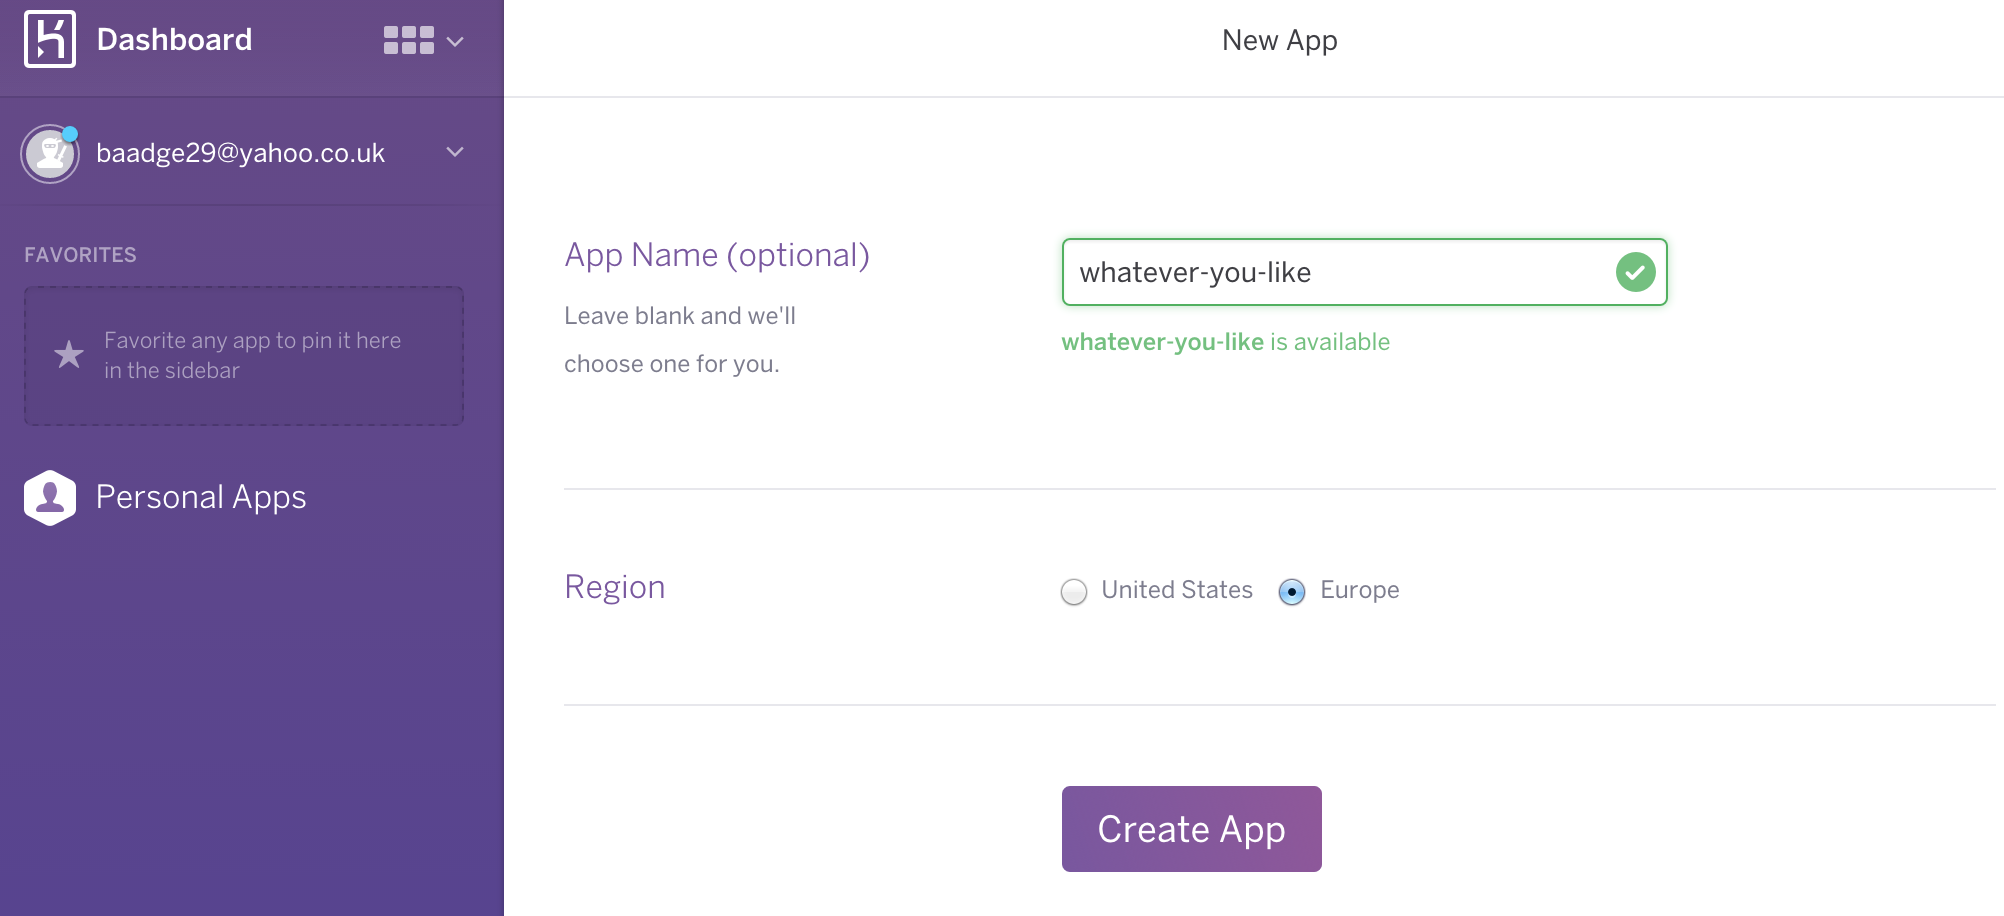
Click on the plus sign on the top right hand corner to create a new app:
Select Europe if you're there and voilla!
##Dynos
Dynos are like little robots. A single Dyno is Free but once it starts to mate and reproduce, things get expensive. The Dynos run commands, Web dynos for instance take care of HTTP traffic. Without a Dyno, your app won't be deployed but thankfully we only need one to begin with => Free.
This shows that I have 1 Dyno, so I'm all good for now.
Ok back to the command line. Now you need to connect your project to this newly created 'app' on Heroku.
heroku git:remote -a whatever-you-like
And to deploy, checkout to the master branch and run:
git push heroku master
heroku open (to view the app in the browser)
That was so easy, why did you tell me not to do it on Friday afternoon?
'coz there's more...
#Environment Variables
The above is fine if you don't have a database, user authentication or are not using any APIs that require tokens and passwords. But then again why won't you use Github pages if that's all you have. It's when you have to deal with credentials (and thus hiding them) that you have to turn to services like Heroku.
We need to hide our passwords, tokens, secrets etc and ensure that we don't push them to Github but the hosting service needs them in order to run your app. This is where environment variables come into place.
If you have a look at the config.js file, you will see the following code:
process.env.SOME-VAR
process is a global object in Node.js and process.env is an object that contains the user environment, in this case our app. On Heroku we can define SOME-VAR and then refer to it in our code like above.
##How?
heroku config:set SOME_VAR="some-car"
You can chain them all in one command like so:
heroku config:set DBUSER="YouAreTheUser" DBPWD="YouOwnThePassword" DBURL="mongodb://YouAreTheUser:[email protected]:78910/collectionName?"
You get the idea. To view them:
heroku config
If you change your mind:
heroku config:unset DBUSER
What else?
We're almost there, now we need to give Heroku some final instructions.
###Procfile In their own words:
Procfile is a mechanism for declaring what commands are run by your application’s dynos on the Heroku platform.
Please have a look at the Procfile in this repo as an example. All you need is the language, the type of dyno so web or worker and name of the file that runs your app. Also, the Procfile file needs to be in your root directory.
###package.json
Please also have a look at the package.json file in this repo, the important things to note are the following:
"scripts": {
    "start": "node (or nodemon if you like) app.js"
  },
  "engines": {
    "node": "0.10.x"
This is important so that Heroku knows what version of Node.js to run your app in.
#####Other things to note:
In your server you'd want to add something like the following so it runs in localhost when on your local machine and on Heroku's chosen port when deployed.
var host = 'localhost';
if (process.env.PORT) host = '0.0.0.0';
var serverOptions 	= {
    port: (process.env.PORT || 8000 ),
    host: host
};
##How to change an App name I promised this earlier, to rename an app you can run the following commands:
heroku apps:rename whatever-else-you-like
And to update the git remote:
git remote rm heroku
heroku git:remote -a whatever-else-you-like
Now you can visit your app at the new url. The old one will no longer work.
For more information visit the Node.js Heroku Buildpack Docs and Heroku Dev Centre.


